



Purchase & installation
Purchase Checklists on AppSource
SoftForge Checklists can be purchased on Microsoft AppSource. Go to the SoftForge Checklists listing and sign in with your business account.
Billing country and language
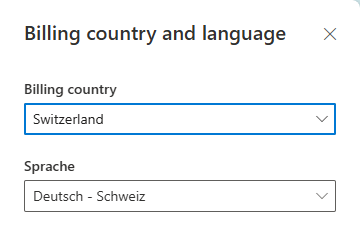
Make sure you have the required billing country and the correct language set. Click the following icon in the top right to check:

Set the billing country and language as follows:
Get the SaaS package
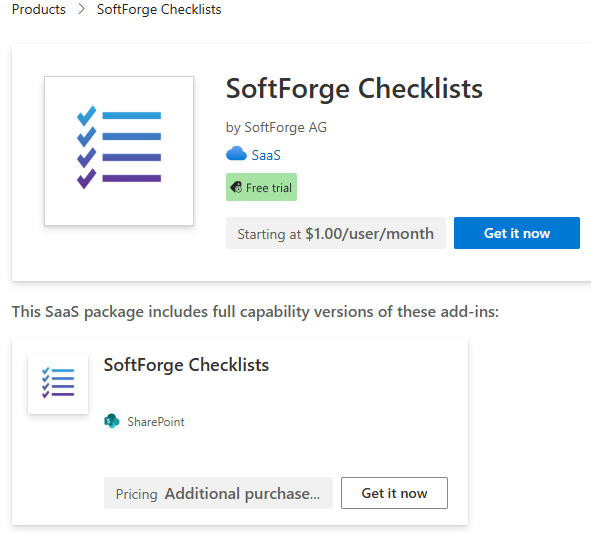
Make sure you can see the SaaS package and click «Get it now»:
Review the plan and click «Next».
Choose your preferred pricing and billing settings, then click «Next».
Enter your payment information and click «Next».
Complete the purchase and wait for your order to be started.
You'll now be asked to configure your SaaS account. Click «Configure account now», sign in if needed, and accept the permissions. If you have the required rights, you can accept them for the entire organization. If not, every user will be prompted once for the permissions the first time they use the app.
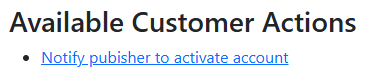
Under «Available Customer Actions», click «Notify publisher to activate Account»:
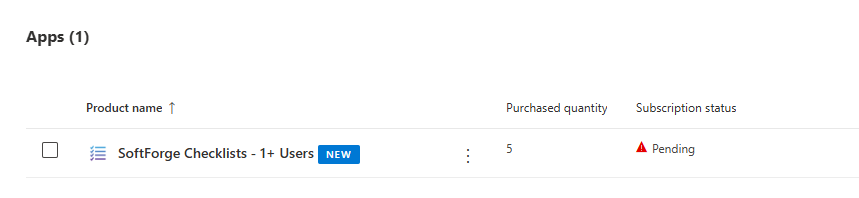
In your tenant's admin center, under «Billing» > «Your products», the app now appears with the subscription status «Pending»:
Once the account has been activated, you'll be notified by email and your purchase becomes active in the portal:

Get the SharePoint package
Once your account is activated, you can download and install the SharePoint package via AppSource. Go to the SharePoint package.
Click «Get it now» and sign in to the SharePoint app catalog.
Wait until Microsoft has completed the process, then click «Add app».
Enable the app for all sites and confirm the data access:
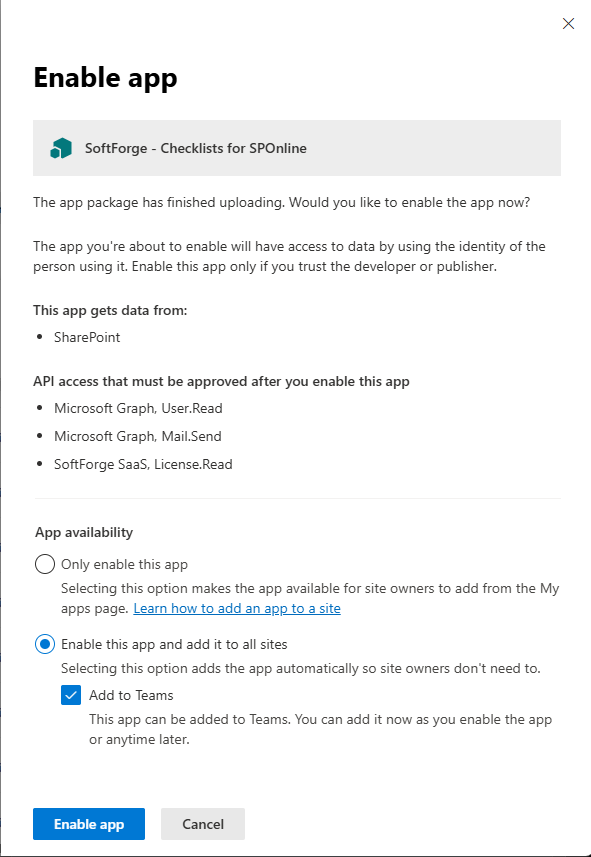
Confirm the following pop-up with «OK»:
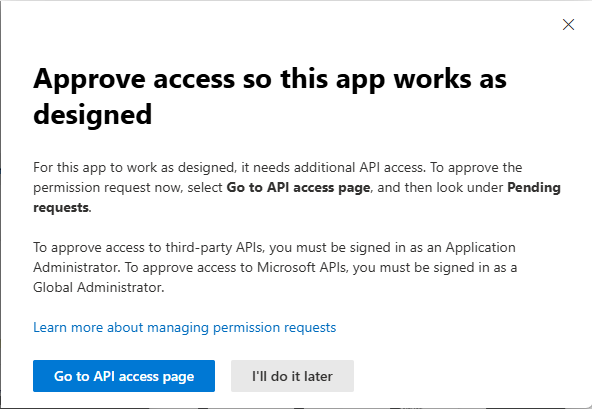
Approve API requests
A SharePoint administrator is required for the following steps.
Go to your SharePoint admin center, expand «Advanced», and select «API access».
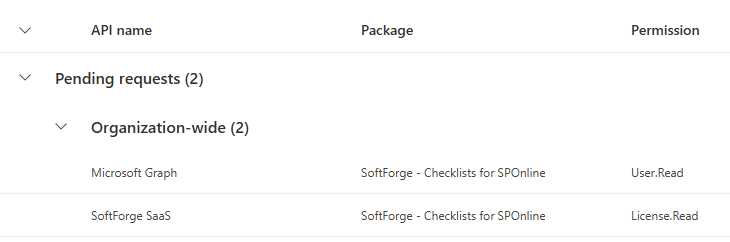
Approve the following requests:
Assign a license
Now go to your Microsoft 365 admin portal and assign a Checklists license to the desired users.
Add the app and get started
The overview explains how a checklist is structured. Add a checklist to Teams describes how to add the checklist to your team.