



Checklists
Add a checklist to Teams
To add the checklist in Teams, click the plus sign in any channel to add a new tab. Search for «Checklists» if the app isn't already shown:
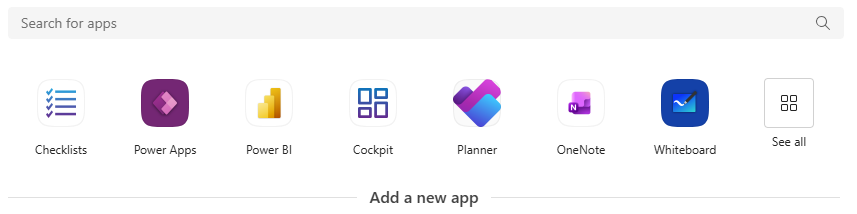
If needed, uncheck «Post to the channel about this tab» and click «Save».
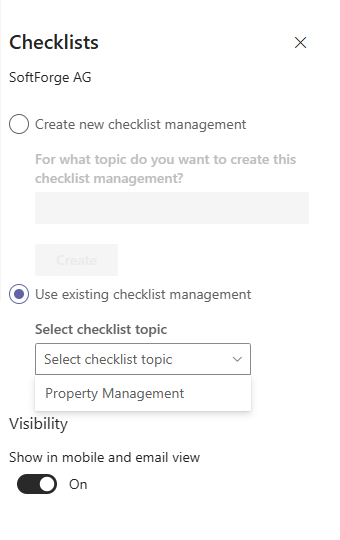
The first time you use a checklist in your team, leave the default setting on «Create new checklist management». You can also use an existing checklist management, since you can run several checklist managements in your team. For example, you could create one checklist management for HR topics and another for your property management. With several instances of the checklist, you also get separate fields and templates for each checklist you ultimately work through.
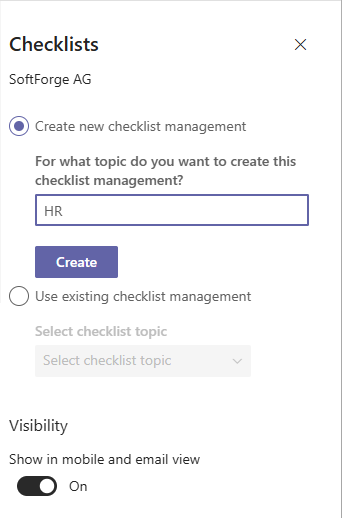
Enter a name for your checklist management and click «Create».
Note
If another checklist management on the site is already configured as the central template source, the field «Select checklist management» appears as well. This lets you automatically carry over that central management's fields and templates into the new instance.
This setup step (adding the tab, choosing the checklist management) is independent of the new UI redesign and therefore still looks the way it always has. It also follows your tenant's language setting, so on an English tenant these dialogs appear in English even though the screenshots above were captured on a German one.